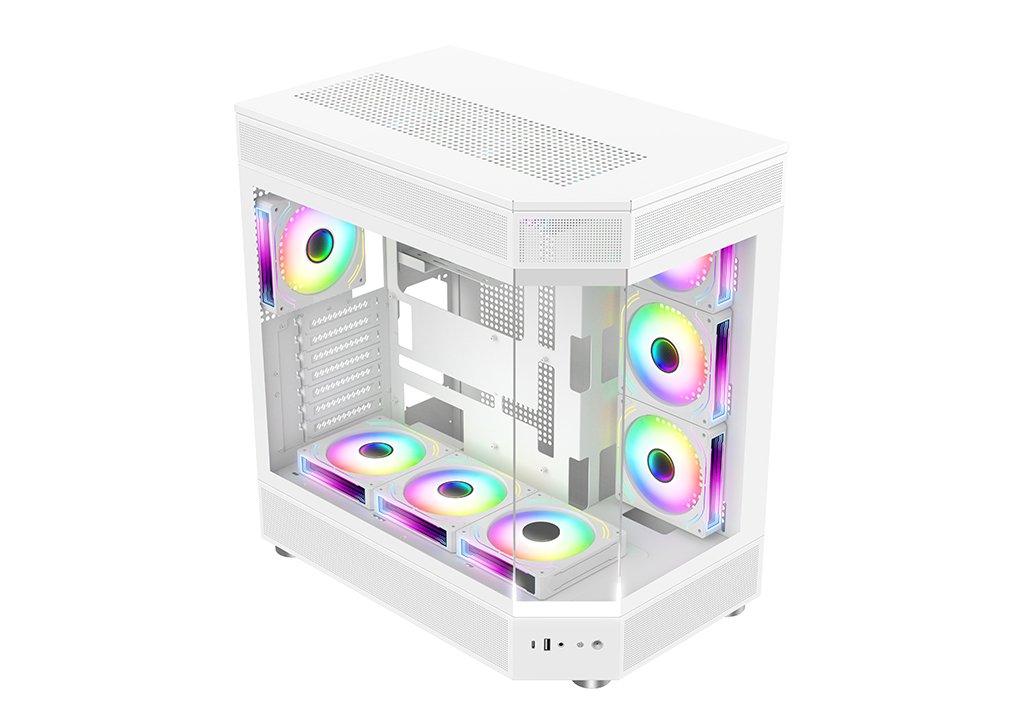
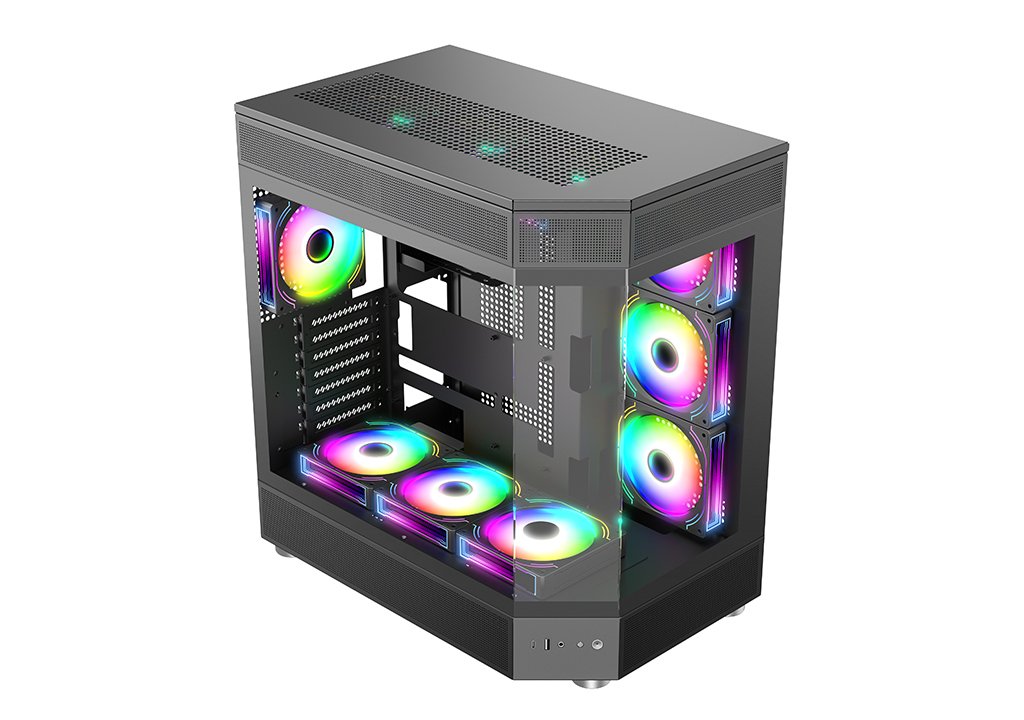
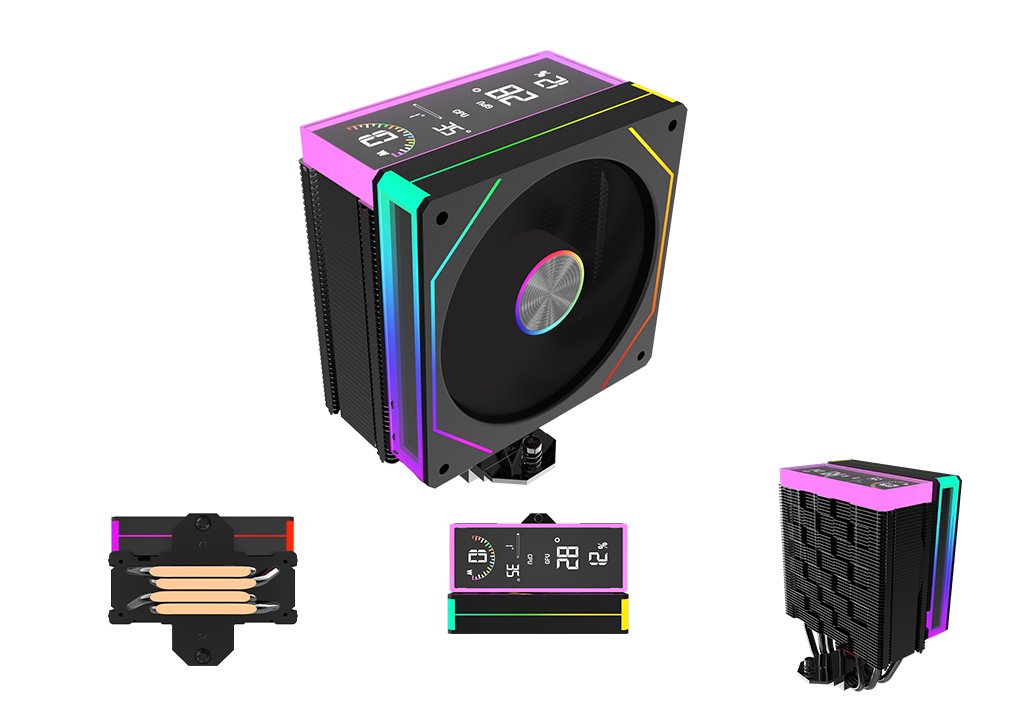
DIY Installation Guide: Full Analysis of Desktop Computer Host Installation

Have you also encountered this situation before? Although I watched a bunch of installation videos, I was still confused when I did it myself, and even damaged several thousand pieces of hardware. Don't worry, this article is summarized by a team of engineers with 10 years of experience. It teaches you step by step how to avoid pitfalls and transforms you from a novice installer to a DIY expert!
Preparation before installation: Don't rush to start!
Installation is not just building blocks, inadequate preparation can lead to accidents in minutes!
Tool preparation: screwdriver (preferably magnetic), zip tie, silicone grease, scissors, flashlight. Hardware inspection: Check the motherboard CPU、 Whether the graphics card, power supply, memory module, hard drive, etc. are complete, don't wait until halfway through installation to find that something is missing. Anti static measures: Wash hands and dry them, or wear an anti-static wristband. Static electricity is a hidden killer of hardware!
Even Xiaobai can handle it.
Install CPU:
*Open the motherboard CPU slot, pay attention to aligning the triangle mark , gently lower the CPU, do not use force to press!
*Close the slot cover and hear a "click" sound to complete the task.
Install memory module:
*Open the memory slot buckle, align it with the notch, press down firmly, and hear a "click" sound to confirm.Don't plug it in the wrong way, otherwise it will burn out the memory module !
Install radiator:
*When applying silicone grease, don't squeeze too much, the size of a soybean is enough, too much will affect the heat dissipation effect.
When fixing the radiator, tighten the screws diagonally to avoid uneven force distribution.
Install motherboard:
* Align the motherboard with the screw holes on the chassis, install the middle screw first, and then fix it around. Don't tighten it too tightly, otherwise the motherboard will deform!
Install power supply:
*Place the power supply into the power slot of the chassis, with the fan facing downwards, and tighten the screws. Attention when wiring: Do not confuse 24pin motherboard power supply, 8pin CPU power supply, and graphics card power supply.
Install graphics card:
*Open the PCIe slot buckle, align it with the slot, gently press it, and hear a "click" sound to confirm. Don't forget to connect the graphics card power cord!
Installation is not a mystery, as long as you follow the steps, anyone can handle it! Hurry up and give it a try.